Address
5460 Canotek Rd Unit 109
Ottawa ON Canada K1J 9H2
Work Hours
Monday to Friday: 9AM - 5PM
Saturday: 10AM - 2PM
Address
5460 Canotek Rd Unit 109
Ottawa ON Canada K1J 9H2
Work Hours
Monday to Friday: 9AM - 5PM
Saturday: 10AM - 2PM
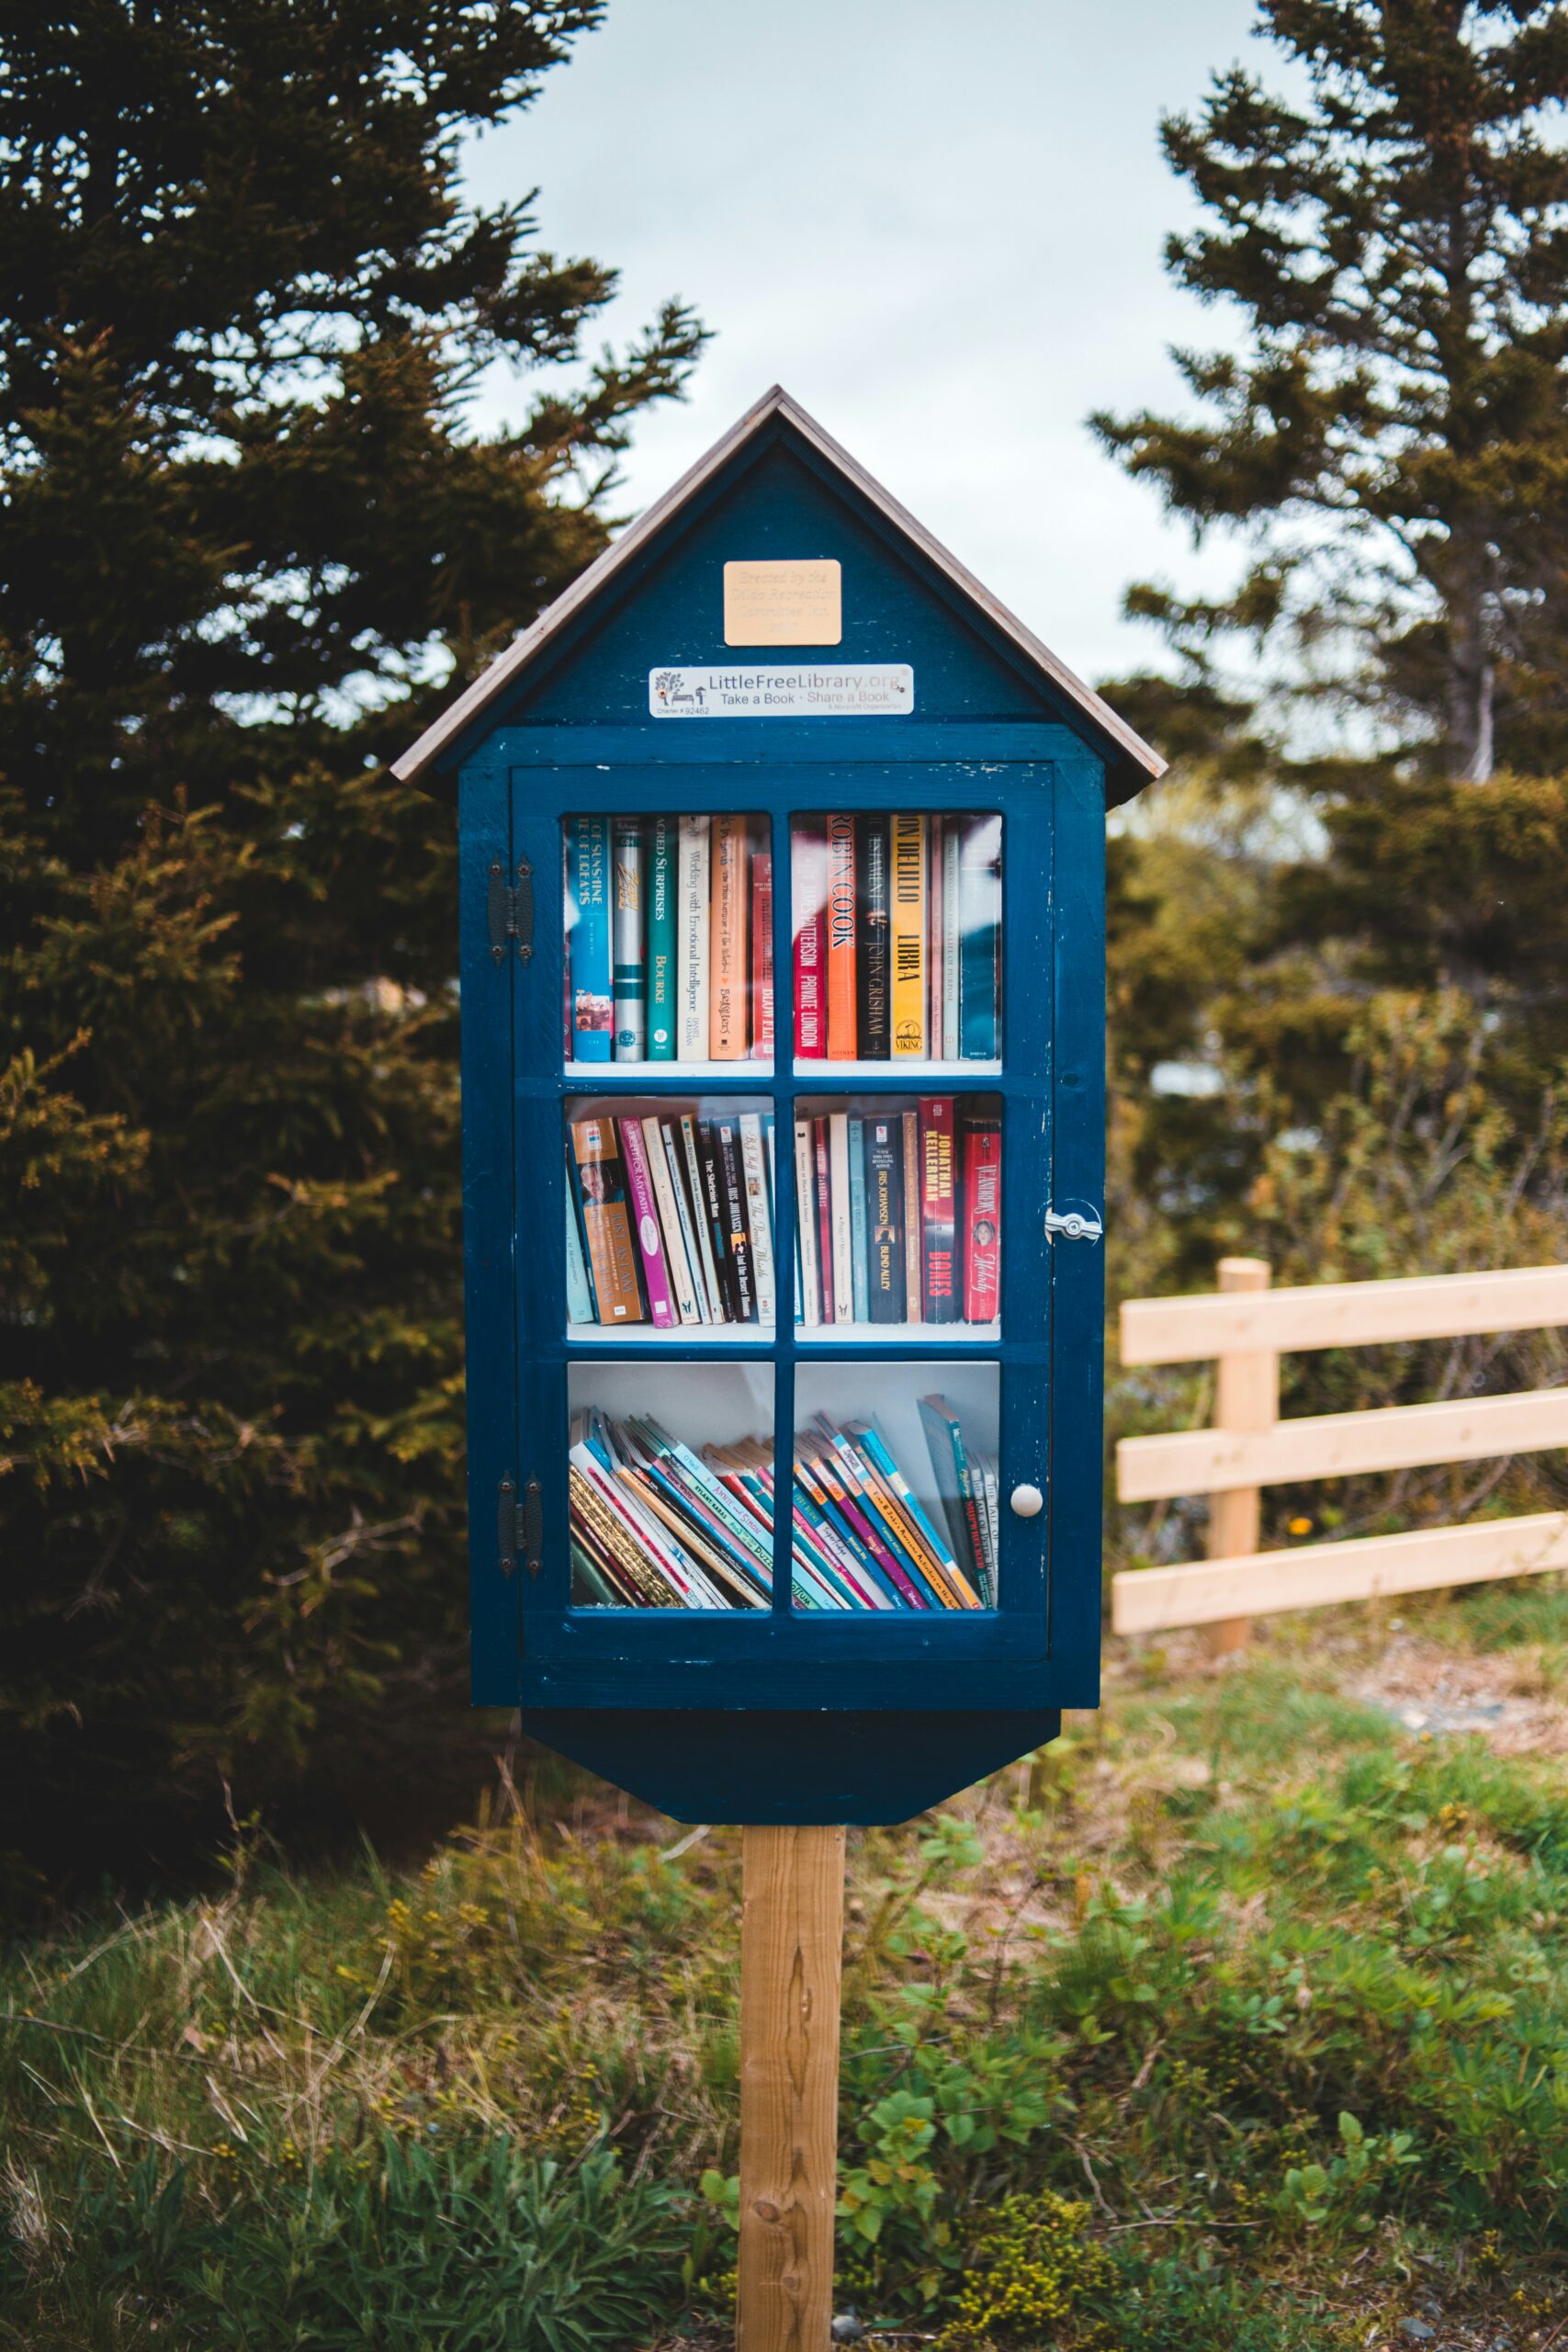
How to Build a Little Book House: A Step-by-Step Guide to Creating Your Own Book Nook
There’s something magical about curling up with a good book in a cozy, unique space. If you’re a book lover who dreams of having a personal nook to house your favorite novels, why not build your own little book house? Whether it’s a charming reading corner in your living room or a tiny bookshelf-shaped structure in your backyard, a book house can be a perfect way to create a sanctuary for your literary collection. In this step-by-step guide, we’ll walk you through how to build a little book house that will serve as both a functional storage space for your books and a beautiful addition to your home or garden.
Before diving into the project, gather the necessary materials. Depending on the size and location of your book house, the following tools and materials will be useful:
Before you start building, it’s essential to decide where you want to place your little book house. Will it be indoors as a cozy bookshelf, or will it be an outdoor structure? If it’s outdoor, consider the weather conditions in your area and choose materials that will withstand the elements. If it’s indoor, you can focus more on aesthetics and comfort.
Next, sketch your design. Think about the size of your book collection and how many shelves you’ll need. Your book house could resemble a small cabin, a whimsical cottage, or even a tiny house with windows and a roof. The design can be as simple or intricate as you like, depending on your skill level and available space.
Once you have your design, it’s time to start constructing the frame of your book house. Begin by cutting the 2x4s (or your chosen framing material) to the dimensions of your design. This will form the base and skeleton of your structure.
Now that the frame is set, it’s time to add the walls. You can either use plywood or MDF boards for this step.
A little book house is not complete without charming windows and a door. For windows, you can use plexiglass or glass panels. These materials are lightweight and easy to cut to size. Simply cut the window frames to fit the openings, and attach the glass with window caulk or a framing kit.
One of the primary purposes of your book house is to store your books, so adding shelves is essential. You can build simple shelves by cutting wood to your desired length and attaching them to the walls with brackets or directly into the frame.
To give your book house a polished look, it’s time to sand the edges and surface. This will remove any rough spots and create a smooth finish. You can also apply a wood stain or paint to match your home’s décor or add personality to the structure. If you’re building an outdoor book house, use weather-resistant finishes to protect the wood from the elements.
If you’re feeling extra creative, you can add decorative elements like a small porch, a roof with shingles, or even little flower boxes for windows.
Once your little book house is complete, it’s time to fill it with your favorite books! Whether it’s placed in your living room, on your porch, or tucked into a garden corner, this charming little structure will be the perfect place to store and display your literary treasures. Add cozy seating or a small lamp to create the ultimate reading nook.
Building a little book house is a rewarding DIY project that combines craftsmanship with your love for books. Whether you’re looking to create a functional bookshelf, a whimsical outdoor reading space, or a small retreat for your personal library, this project will allow you to express your creativity while adding charm and utility to your home. With the right materials, patience, and imagination, you can build a book house that will be both a functional storage solution and a delightful escape into the world of books. Happy building!